Business & Team Merch
Employee Welcome Kits: How to Plan Useful Branded Apparel
A useful welcome kit starts with a few considered choices: clothing that fits, items that suit the workday and a simple way to keep the next order consistent.
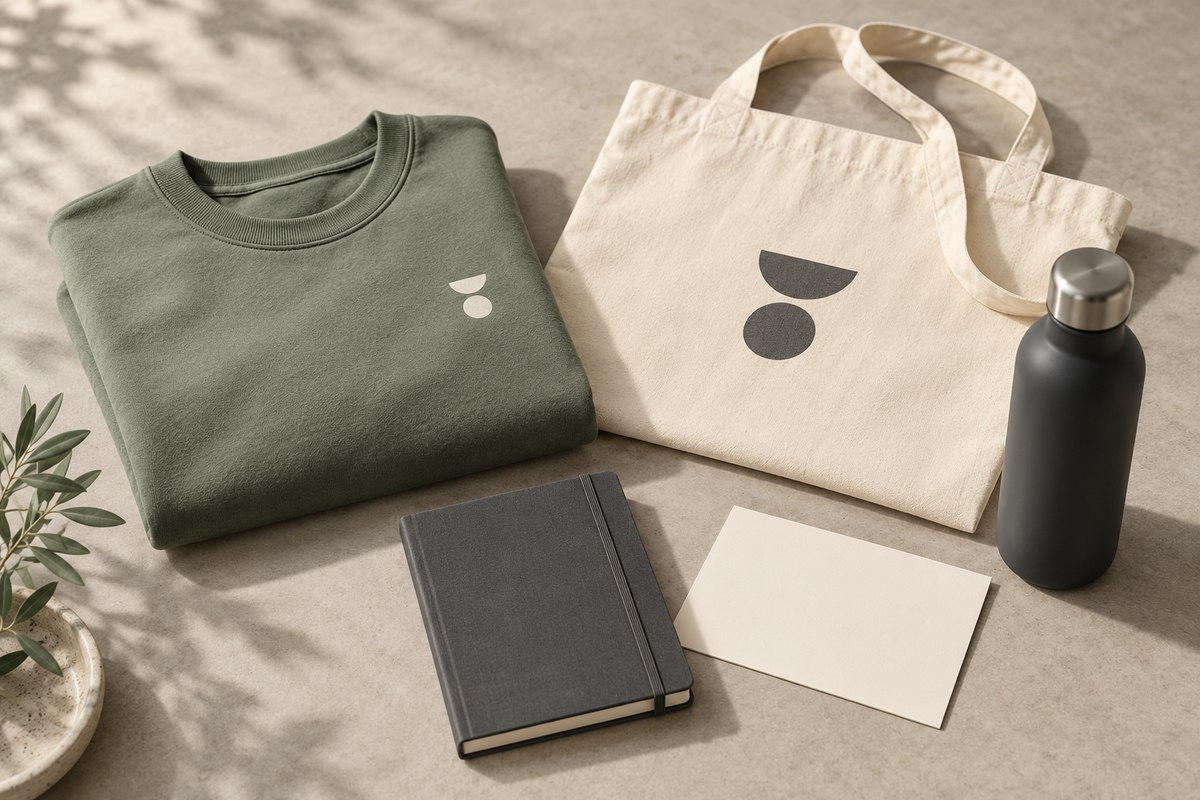
You do not need a box full of merchandise to welcome a new colleague. Start with what the person will actually use, then plan how you will collect sizes and replace stock as hiring continues. That makes the kit easier to manage and gives you a clearer brief for a quote.
Give every item a purpose
Choose one apparel item as the starting point. A T-shirt may suit a casual workplace; a sweatshirt or quarter-zip may be more appropriate where people want an extra layer. Consider the work setting, expected fit and season before choosing a product solely because it carries a large logo.
Then consider one practical extra, such as a tote, notebook or drinkware. Explore our promotional products for possibilities, and confirm the exact item, decoration and availability when requesting a quote. A short welcome note can be added by your team without requiring another branded product.
Match the apparel to the workday
A garment used as part of a staff uniform needs to work with the wider clothing program. A casual welcome gift can allow more choice in colour or style. Make that distinction before ordering, especially if new employees will also need role-specific workwear.
Our staff uniforms page covers the broader apparel discussion. For layers, compare the hoodie, crewneck and quarter-zip options. Keep the chosen style number and colour on your kit specification so that future orders have a clear starting point.
Collect sizes privately and early
Share the exact garment and its size chart before asking the new employee to choose. Use a private form or direct response rather than asking for size information in a team channel. If you offer more than one fit, record the selected style as well as the size.
Allow time to resolve questions before the kit is needed. Our group apparel size guide explains body measurements, garment measurements and size breakdowns. If the garment changes later, share the replacement chart and reconfirm the choice.
Plan stock around your hiring pattern
For a one-time intake, collect confirmed sizes and quote the group together. For regular hiring, compare a modest stock buffer with placing smaller repeat orders. Avoid assuming a universal size ratio: review your actual choices and record what is being used.
Keeping a buffer ties up budget and storage space. Ordering every kit separately creates more administration and may change the unit cost. Ask for a comparison based on your expected quantities, selected products and decoration rather than choosing from a generic bulk-order rule.
Create a simple kit specification
- Garment brand, style number, fit and colour.
- Approved artwork file, decoration method and placement.
- Finished decoration dimensions and colour references.
- Any additional products, including model and finish.
- Who collects sizes, approves orders and distributes kits.
- Current stock by size and a date for the next review.
Keep the approved proof with the specification. If a product is unavailable for a reorder, compare alternatives and approve the change before treating it as equivalent. The brand colour matching guide explains why colours can look different across garments and materials.
Separate product supply from kit fulfilment
Decide who will assemble the kits, add notes, store any spare items and send packages to remote staff. These are separate tasks from decorating apparel. Ask what is included in the quote; do not assume assembly, inventory storage or individual shipping is part of the product price.
Include the first required date, quantities and delivery destinations in your enquiry. Confirm both production and shipping arrangements before telling new employees when their kits will arrive.
