Apparel & Ordering
How to Collect Sizes for a Custom Apparel Group Order
A clear size list starts with the right garment information. Give everyone the exact style and its size chart before asking which size they want.
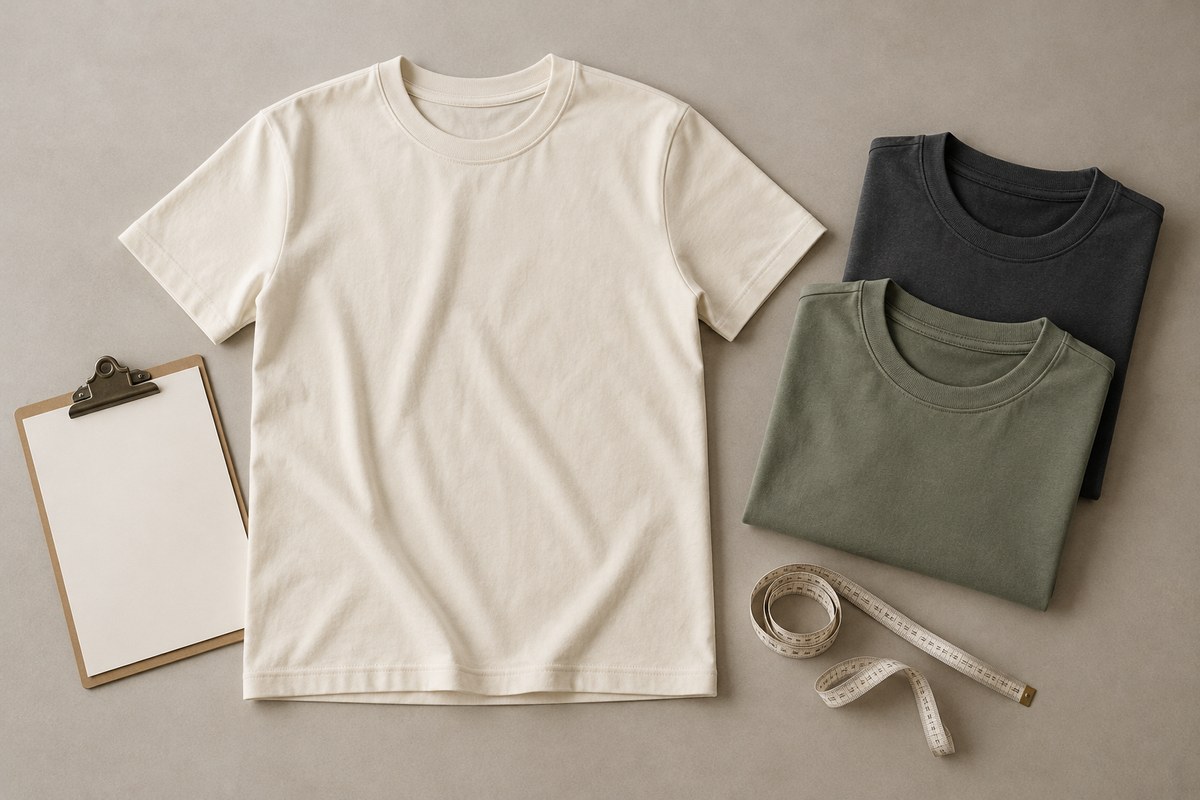
If you are organizing shirts for staff, volunteers, a school group or a family gathering, “send me your usual size” can create confusion. Fit varies between styles, and a youth large is a separate choice from an adult large. A simple collection process helps you turn individual choices into a usable order breakdown.
1. Choose the exact garment before collecting sizes
Share the brand, style number, colour and available size range. Include the product link and the manufacturer’s chart for that specific style. If you offer two fits or both adult and youth garments, make those separate options in your form.
Ask about availability before finalizing the collection list. If the selected garment changes, give people the replacement style’s chart and ask them to confirm their choice again. Our T-shirt fabric weight guide can help with the garment-selection discussion.
2. Check what the size chart actually measures
Two charts can both say “chest” while describing different things. A body-size chart describes the wearer; a garment measurement chart describes the finished shirt. Read the chart headings, units and measurement instructions before comparing numbers.
| Chart type | What it describes | How to use it |
|---|---|---|
| Body measurements | The wearer’s chest, waist or other dimensions | Follow the brand’s instructions for measuring the person. |
| Garment measurements | The finished garment’s width, length or sleeves | Compare with a similar garment that already fits well. |
For example, a shirt measured 51 cm across when flat is approximately 102 cm around at that point. Those are two ways of describing the garment, not a recommendation that it will fit a person with a 102 cm chest. Fit also depends on the cut, fabric and the room the wearer prefers.
3. Compare with a shirt that fits comfortably
For a chart showing finished garment measurements, use a similar shirt that the person enjoys wearing:
- Lay it flat on a level surface and smooth it without stretching.
- Measure the width at the location specified by the manufacturer.
- Measure length from the starting point stated in the chart.
- Use the same units as the chart, then compare the measurements.
Do not assume every brand measures from the same place. SanMar’s example specification sheet separates body sizing from garment dimensions and explains where each measurement starts. Use the actual instructions for your chosen style.
When practical, ask about reviewing a sample before committing to the full order. For hoodies or other layers, consider what people will wear underneath; our hoodie, crewneck and quarter-zip guide covers those style choices.
4. Collect choices in one form
Use one form or spreadsheet rather than several text-message threads. Include a link to the garment and size chart at the top. Ask each person for:
- Name or an identifier you can use when distributing garments.
- Exact style or fit option, including adult or youth.
- Garment colour, selected size and quantity.
- Confirmation that they reviewed the correct chart.
Set an internal response deadline that leaves time to resolve missing answers and confirm the order. Ask Pressing Matters about the schedule for your specific project instead of assuming a standard lead time. Collect size selections; you generally do not need to keep everyone’s body measurements in the shared sheet.
5. Turn responses into a final quantity breakdown
Keep a distribution list for yourself, then summarize quantities by exact style, colour and size. Do not merge different fits into one row just because the size letters match.
A clear example is “Style A, black, adult: S 4, M 9, L 8, XL 3” followed by “Style B, black, youth: M 2, L 4.” Label any sample or spare garments separately and check that the row totals equal the overall order quantity. These figures are an example, not a recommended size ratio.
Before you submit the order
- Confirm the garment style, colour and current availability.
- Resolve blank responses and duplicate entries.
- Check the size totals and identify any extra garments.
- Supply the artwork and requested decoration positions.
- State the date the garments are needed and the delivery or pickup plan.
For staff clothing, explore our custom staff uniforms page. For a fixed event date, use the event apparel planning checklist alongside your size list.
