Artwork & Design
Logo Placement on Apparel: Plan Chest, Back and Sleeve Designs
Placement changes how a design is seen and how a garment feels to wear. Start with the message, then confirm the artwork dimensions and position on the exact style.
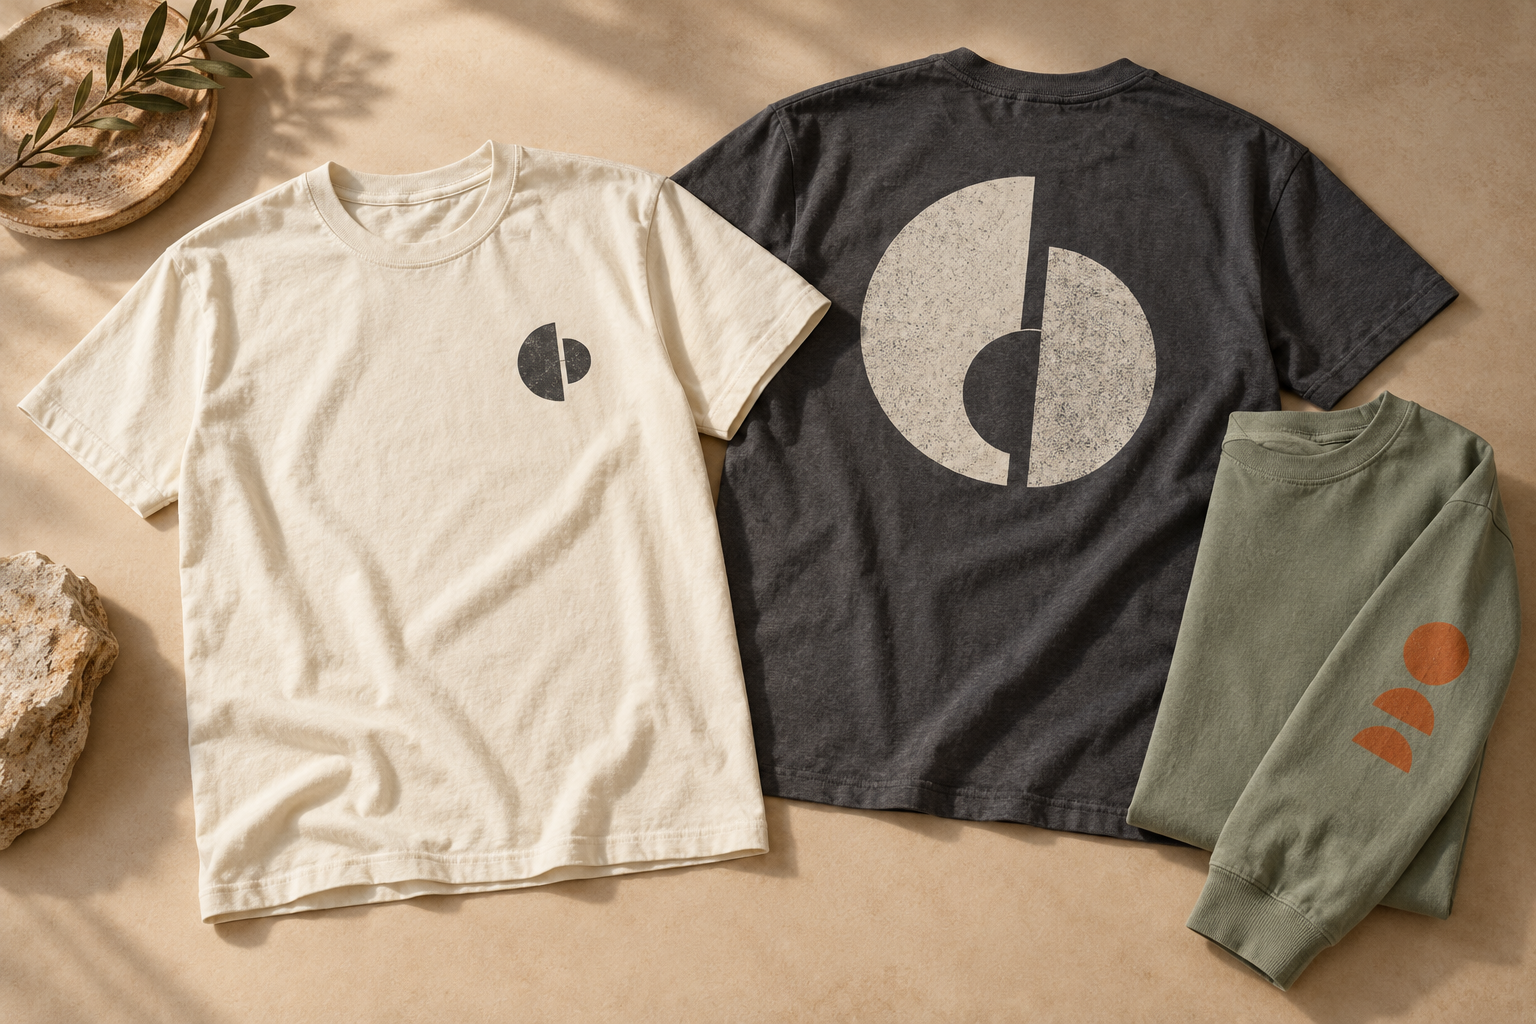
“Put the logo on the chest” is a useful starting point, but it leaves several decisions open. Is it on the wearer’s left or right? How wide should it be? Will the same layout work on every size and garment in the order? Resolving those details makes your mockup easier to approve and your next order easier to repeat.
Give each placement a job
A small chest mark can provide a quiet brand identifier. A larger front or back design gives you more room for an illustration, event identity or message. A sleeve mark can add a secondary detail, but it has a narrower and differently shaped space to work with.
Choose the placement around how the clothing will be used. A large back design may be useful when staff are viewed from behind, while a jacket or apron could cover it in everyday use. If the garment is merchandise for sale, think about the design someone will want to wear outside the event too.
| Placement | Planning question |
|---|---|
| Left or right chest | Will the mark remain readable at a small size, and is a pocket or seam in the way? |
| Centre front | Does the layout work around the neckline, zip or pouch pocket? |
| Upper or full back | Will a hood, long hair or outer layer cover important information? |
| Sleeve | Does the design fit the available width and avoid cuffs or seams? |
Use the wearer’s perspective
Write “wearer’s left chest” or “wearer’s right sleeve” rather than relying on the left side of a screen mockup. Include a separate front, back or sleeve view for each decorated area. If you have both a primary logo and a sponsor mark, identify which belongs in each location.
For repeat orders, keep the approved placement description with the artwork. A photograph of the old garment is helpful context, but it may distort size or position because of the camera angle.
Specify the visible artwork size
Record the intended width and height in centimetres or inches. Measurements should describe the visible design, not a document padded with empty space. A wide wordmark and a compact circular logo can look very different even when both are assigned the same width.
As a planning exercise, print the design on paper at the proposed size and hold it against a similar garment. This can help you judge the visual scale before requesting a proof. The production team still needs to confirm that size and placement are suitable for the selected style and decoration method.
Scaling a detailed logo down can make small text or thin features difficult to reproduce clearly. A simplified version may be more useful for a small chest or sleeve mark. See our artwork preparation guide for file preparation advice.
Check every garment style in the order
A T-shirt front is not the same decoration space as a zipped hoodie, polo, pocket tee or youth garment. Zips, buttons, pockets and seams affect where artwork can sit. Ask whether the smallest sizes need a separate artwork size and whether that changes the quote.
For hoodies, consider where the hood rests against the back design. For polos and jackets, review the chest mark alongside plackets, panels and pockets. Our hoodie, crewneck and quarter-zip comparison can help when choosing the garment itself.
Match the design to the decoration
The same logo may need a different treatment for a printed T-shirt and an embroidered chest mark. Confirm legibility, detail and the available decoration area before assuming one file works unchanged everywhere. Use our print-method comparison and embroidery guide to prepare questions for your quote.
Each additional location also changes the scope of the order. Compare a chest-only option with chest-and-back or sleeve additions using complete decorated prices.
Approve the details, not just the overall look
Check the garment style and colour, wearer’s side, artwork version, visible dimensions and every decoration location. A mockup helps communicate the layout; ask for any critical measurement to be written down rather than estimating it from the image.
Keep the final proof and order reference for reorders. Our reordering checklist explains the details worth retaining.
