Apparel & Ordering
Custom Hats: Choosing Cap Styles, Embroidery and Patches
Start with the hat people will wear, then choose decoration that works with its shape. A logo that looks good on a shirt may need a different treatment on a cap.
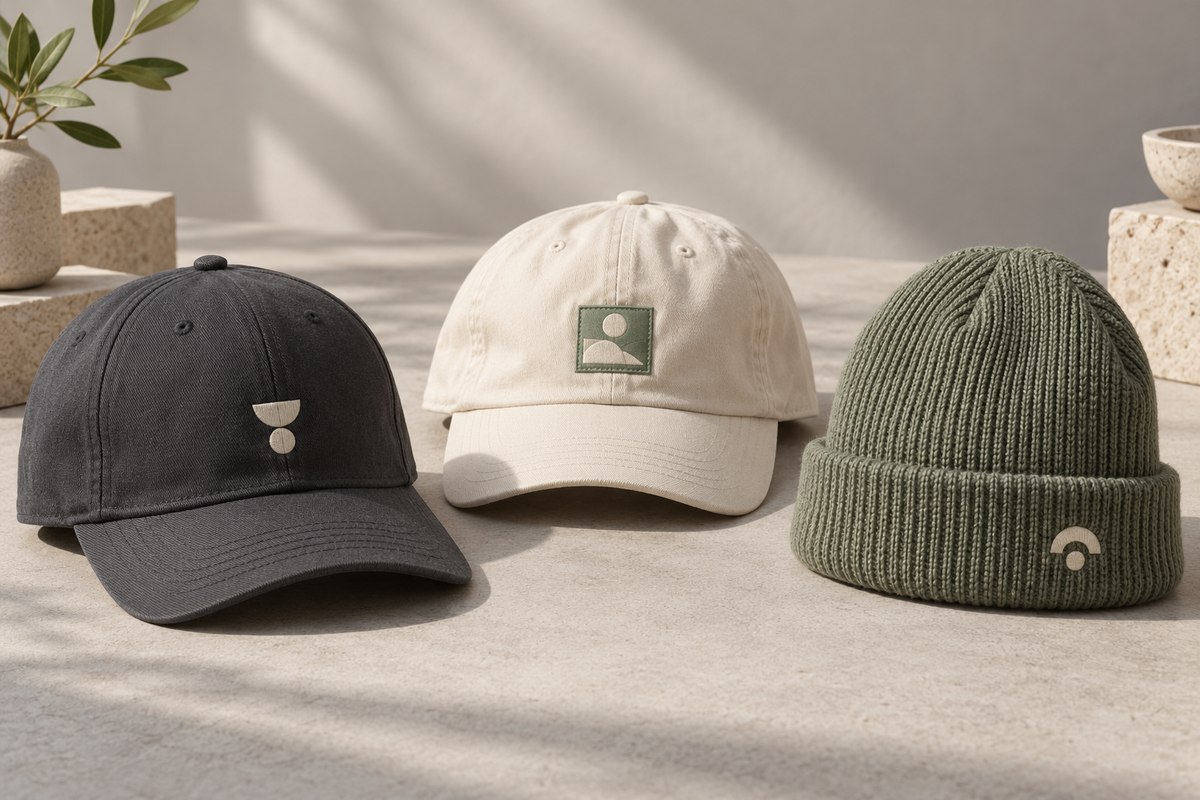
A staff cap, a retail merch item and a team giveaway can call for different fits and finishes. Before choosing a logo placement, compare the crown shape, front panels, closure and fabric. Those details affect both the look of the hat and the space available for decoration.
Choose the cap shape first
Structured caps have support in the front that helps the crown hold its shape. Unstructured caps have a softer front and a more relaxed appearance. Neither is automatically the better choice: the right starting point is the look and feel your group prefers.
Profile describes how high the crown sits. A lower-profile cap and a taller cap can feel quite different even when both have an adjustable closure. If fit is important to a team order, ask about reviewing the specific style before committing to the full quantity.
Look closely at panels and seams
The front of a cap is curved and may have a centre seam. That makes its decoration area different from the flat front of a T-shirt. Some styles offer an uninterrupted front panel; others divide that space between two panels. Ask for the exact cap to be assessed with your artwork.
A wide wordmark, small lettering or fine linework may need simplifying or resizing. Side and back placements also need their own review rather than being treated as smaller copies of the front design. SanMar’s cap embroidery guide explains how construction and placement change the decoration approach.
Compare direct embroidery and patches
Direct embroidery
Direct embroidery creates the design with stitches on the cap itself. A clear mark with enough space between its elements is a useful starting point. Discuss small text, gradients and fine details before assuming that the full version of your logo will reproduce at cap size.
Read our embroidery pricing guide for the role of digitizing, stitch count and placement. For a repeat design, ask whether existing production files suit the new cap and size; setup should be confirmed for the actual order.
A separate patch
A patch creates a distinct badge on the cap. Its material, edge, size and attachment method all contribute to the result. Explore our custom patch options, then ask which combinations are suitable for the headwear you have selected.
Patch attachment is part of the specification. Do not assume that every patch can be heat-applied to every cap, or that a particular finish is available in every shape and quantity.
Check the closure and size range
Adjustable does not mean unlimited fit. Review the manufacturer’s size range and closure details. A snap closure, fabric strap and fitted size each change how you collect choices for a group. Keep adult and youth styles separate in the order breakdown.
For knit beanies, check the cuff and intended decoration position. A folded cuff gives a different visible area from an uncuffed style. Confirm the position on the exact product rather than choosing it from a generic mockup.
Send a complete headwear brief
- The preferred cap or beanie style, colour and fit.
- Your logo artwork and any brand colour references.
- Desired front, side or back decoration positions.
- Quantity by style and size where applicable.
- Your budget priorities and date needed.
Start with our headwear selection and artwork preparation guide. Ask for the proposed logo dimensions and placement to be shown clearly before approving production. Confirm stock, setup and timing for your specific combination.
